<?php

// First lets see if we have an "pet_id" added to the query string.
if(!isset($_GET['pet_id']))
    die('We need an id!'); // if this page is called in am img tag, it will appear broken.

// Not included in this example is any validation that pet_id is a number or safe.

// Lets setup the database.
$host = '127.0.0.1';
$db   = 'test';
$user = 'root';
$pass = '';
$charset = 'utf8';

$dsn = "mysql:host=$host;dbname=$db;charset=$charset";
$opt = [
    PDO::ATTR_ERRMODE            => PDO::ERRMODE_EXCEPTION,
    PDO::ATTR_DEFAULT_FETCH_MODE => PDO::FETCH_ASSOC,
    PDO::ATTR_EMULATE_PREPARES   => false,
];
$pdo = new PDO($dsn, $user, $pass, $opt);

// Lets get the pet information.
// Note, the pet table has 3 columns + id in this example for customization:
//   pet_id = INT
//   species - VARCHAR
//   markings - VARCHAR - contains a marking type to include
//   color - VARCHAR - contains a string in a ImagicPixel format (i.e. "rgba(125,125,125,1)")
// Your pet table would normally contain name or other fields, we are keeping simple in this example.

$stmt = $pdo->prepare('SELECT * FROM pets WHERE pet_id = ?');
$stmt->execute([$_GET['pet_id']]);
$pet = $stmt->fetch();

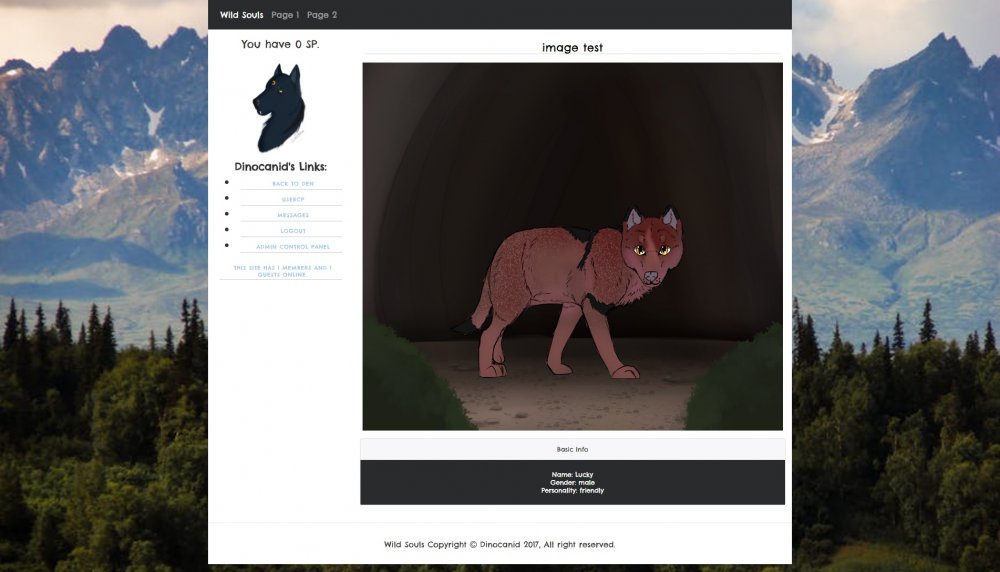
// Remember to order these in reverse, the last element in the array should always be the top layer you will see (usually lineart). All images should be the same dimensions.
// Note that we are using variables from our table to build the correct images we would need for this pet.
$images = array(
	'path/to/' . $pet['species'] . '/base.png',
	'path/to/' . $pet['species'] . '/' .  $pet['markings'] . '.png',
	'path/to/' . $pet['species'] . '/lineart.png'
);

// This creates the Imagick class that we will use.
$composed_image = new \Imagick($images);

// Now we can actually do some fun stuff such as color or tint the layers.
// For instance, let's tint the base. I am using random (probably awful colors)

// Base
$composed_image->setIteratorIndex(0);
$composed_image->colorizeImage(new \ImagickPixel($pet['color']), new \ImagickPixel("rgba(128,128,128,1"));
$composed_image->tintImage(new \ImagickPixel($pet['color']), new \ImagickPixel("rgba(128,128,128,1"));

// As you see above, by calling setIteratorIndex(), you switch your "working layer" to the layer you wish to modify.
// Now lets flatten it and display it. This creates a new Imagick instance to work with with only one flat image.
$image = $composed_image->mergeImageLayers(\Imagick::LAYERMETHOD_FLATTEN);
$image->setImageFormat('png');

header('Content-type: image/png');
echo $image->getImageBlob();